Whist the current lack of travel is frustrating, and the enforced “house arrest” isn’t helping much, it has given the opportunity to make progress on some of those projects that have been gathering dust for a while.
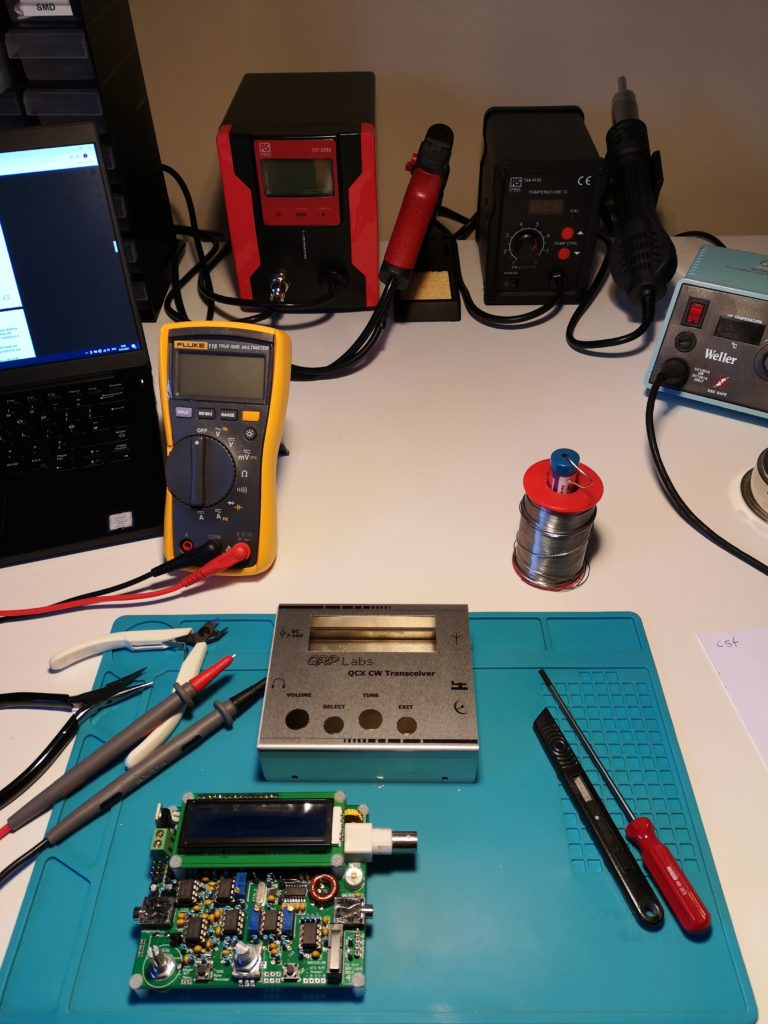
Some time ago a QCX 30m kit arrived in the post from Hans Summers of QRP labs. The kit is well packaged and contains everything you need to get on the air. I must congratulate Hans on the quality of the build notes, all 150 pages of them. This is not as daunting as it sounds, as experienced builders can skip a lot of the information, and new builders can take in the many tips and step by step instructions.
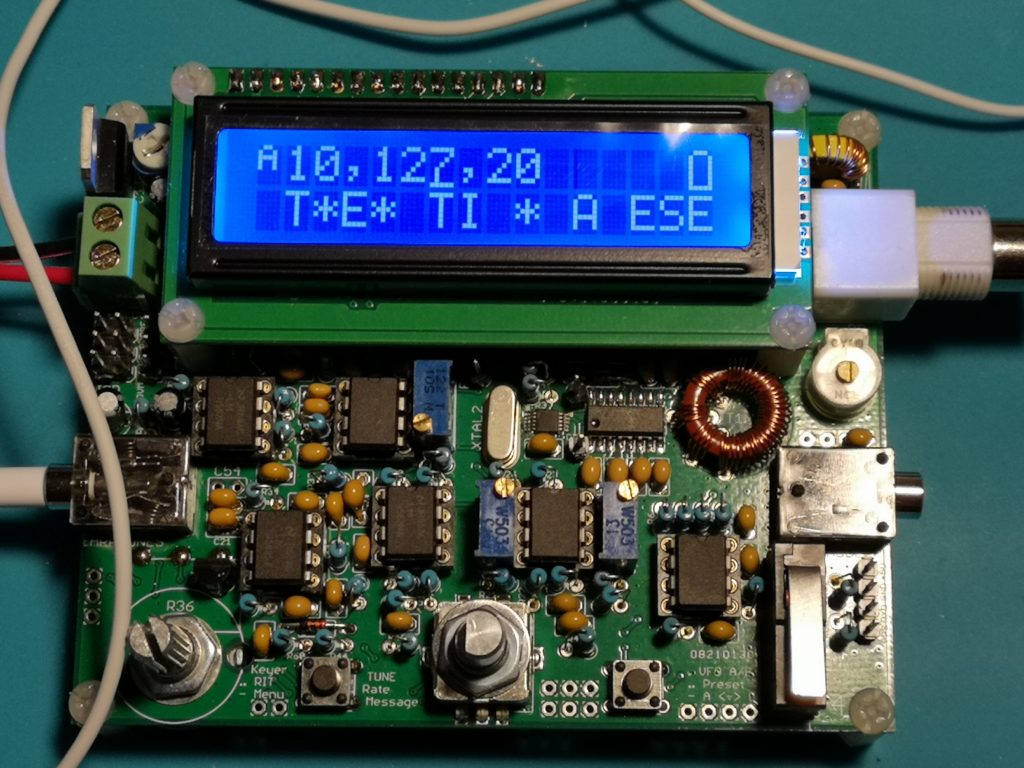
The radio is a single band 5w QRP CW only radio that has a whole host of features built in including CW keyer, CW decoder, test equipment, LCD display and ability to link to a GPS time source for WSPR transmissions and frequency calibration.
It took me a couple of nights to build, and the excellent instructions saved any problems when winding the torroids.
Once built, and checked for short circuits, power was applied, so far so good, no smoke! The next job is to set up the LCD, turning the brightness pot up a little illuminated the display with a prompt asking the builder to choose the band – in my case 30m (Band choice is chosen by the BPF that you build and fit to the PCB). The next step is to set up the receiver, again step by step using the built in test equipment and covered in great detail in the build notes.
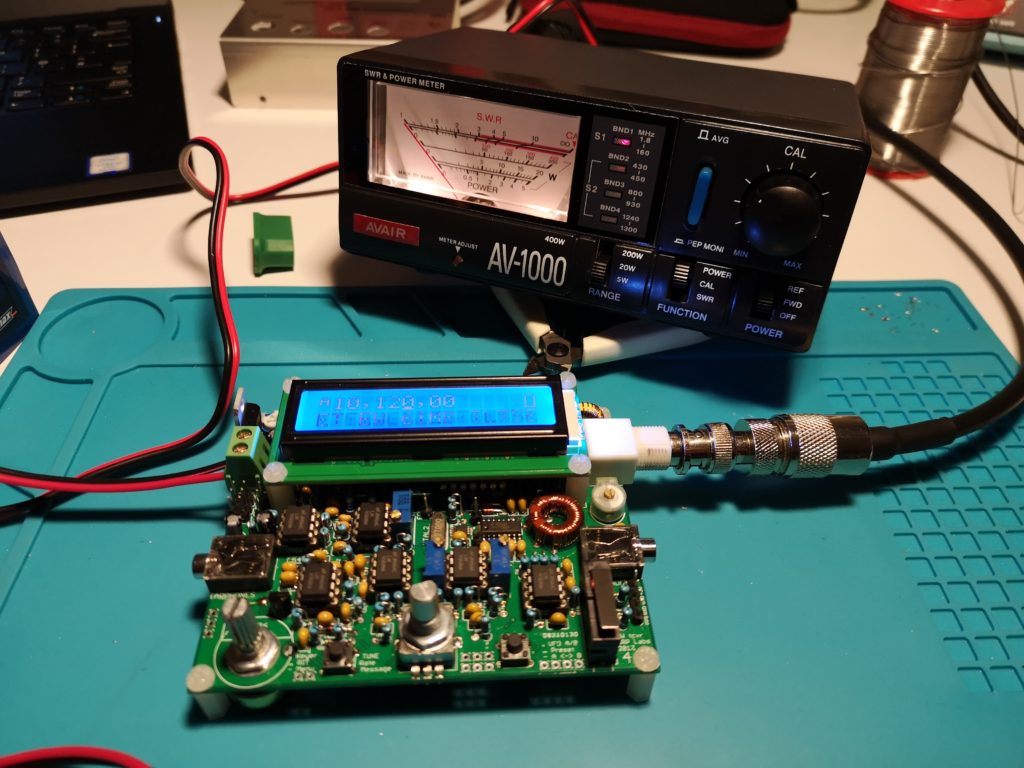
At last it was time to test the TX, with a watt meter and dummy load attached, the transmitter can be tested by pressing the in built microswitch (that also acts as a straight key) the power meter kicked over to 0.8w output, not bad for a first transmission, at least there was no smoke. Using the inbuilt “key” for a quick CQ G4YTD instantly decoded on the screen. This feature can be turned off, but is a good aid for new CW operators.
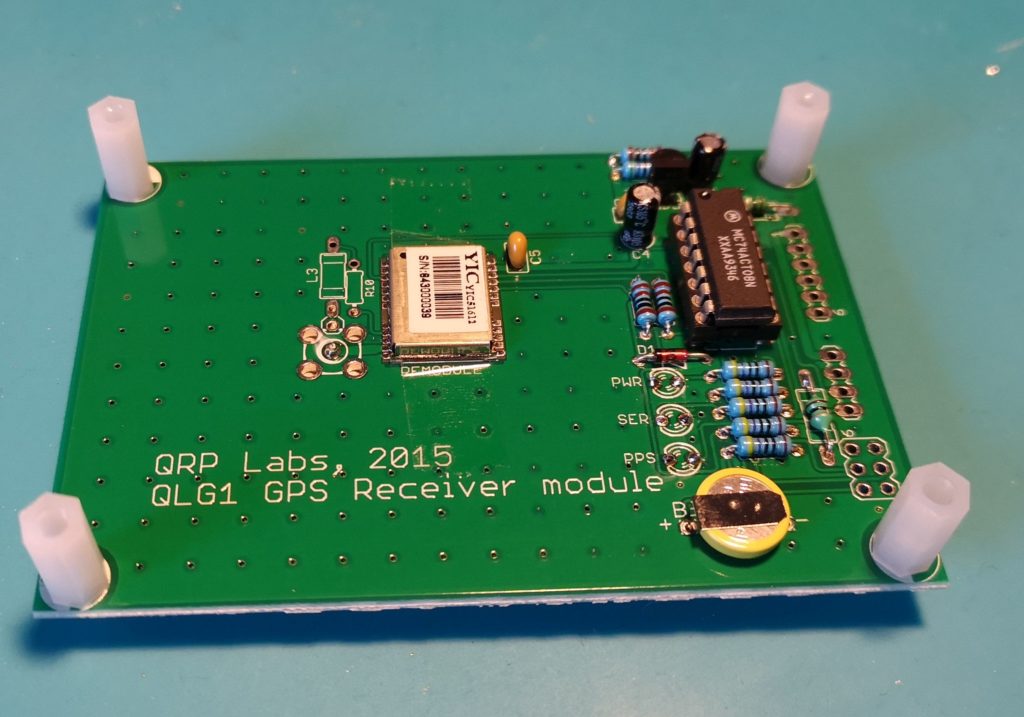
Frequency offset against display was a little off when measured on a frequency counter. Hans has this covered by use of a GPS driven signal source. The QCX can take data from several GPS units, but QRP labs also offer a low cost kit to build one. I purchased one with the QCX, the build took around 1 hour to complete. At the time of writing I am waiting for a 4 way molex connector to arrive in the mail, and will then use the GPS to calibrate the QCX further.
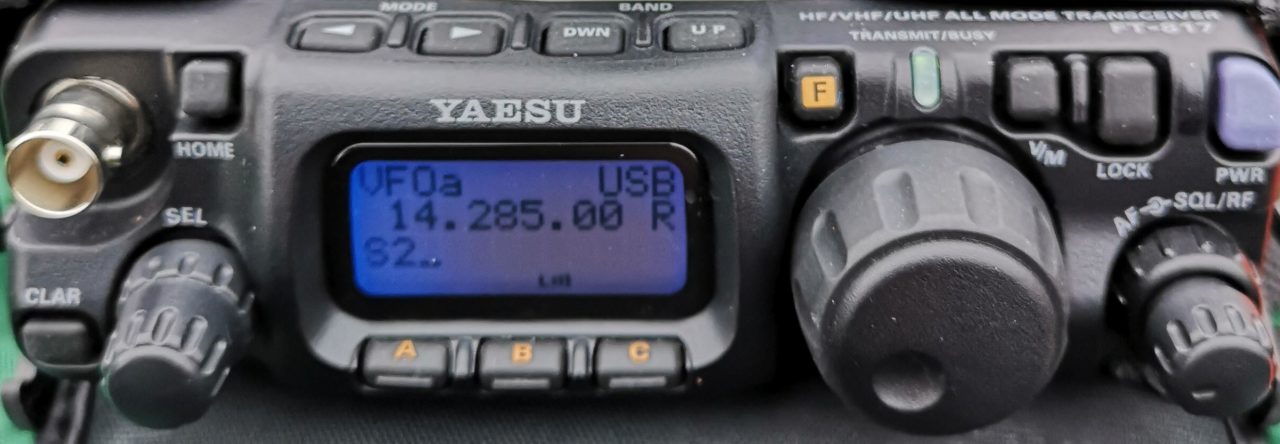
The satisfaction of listening to 30m on a home built radio took me back to when I was first licensed in 1984 using a home brew HF rig, who needs the latest gazillion £ Yaewoodcom radio to have fun?
Next steps on this project are to tweak the torroids to up the power a bit closer to 5w, and finish calibrating before boxing up in the Bamotech enclosure and giving it an airing.
73
Tim
G4YTD